Tines WiFi button meets TP-Link Kasa Smart Plug

I've been using Tines more in $dayjob and for tinkering with some personal projects; so when Tines reached asking if I wanted to have a play with a new device they were experimenting, I was intrigued to learn more!

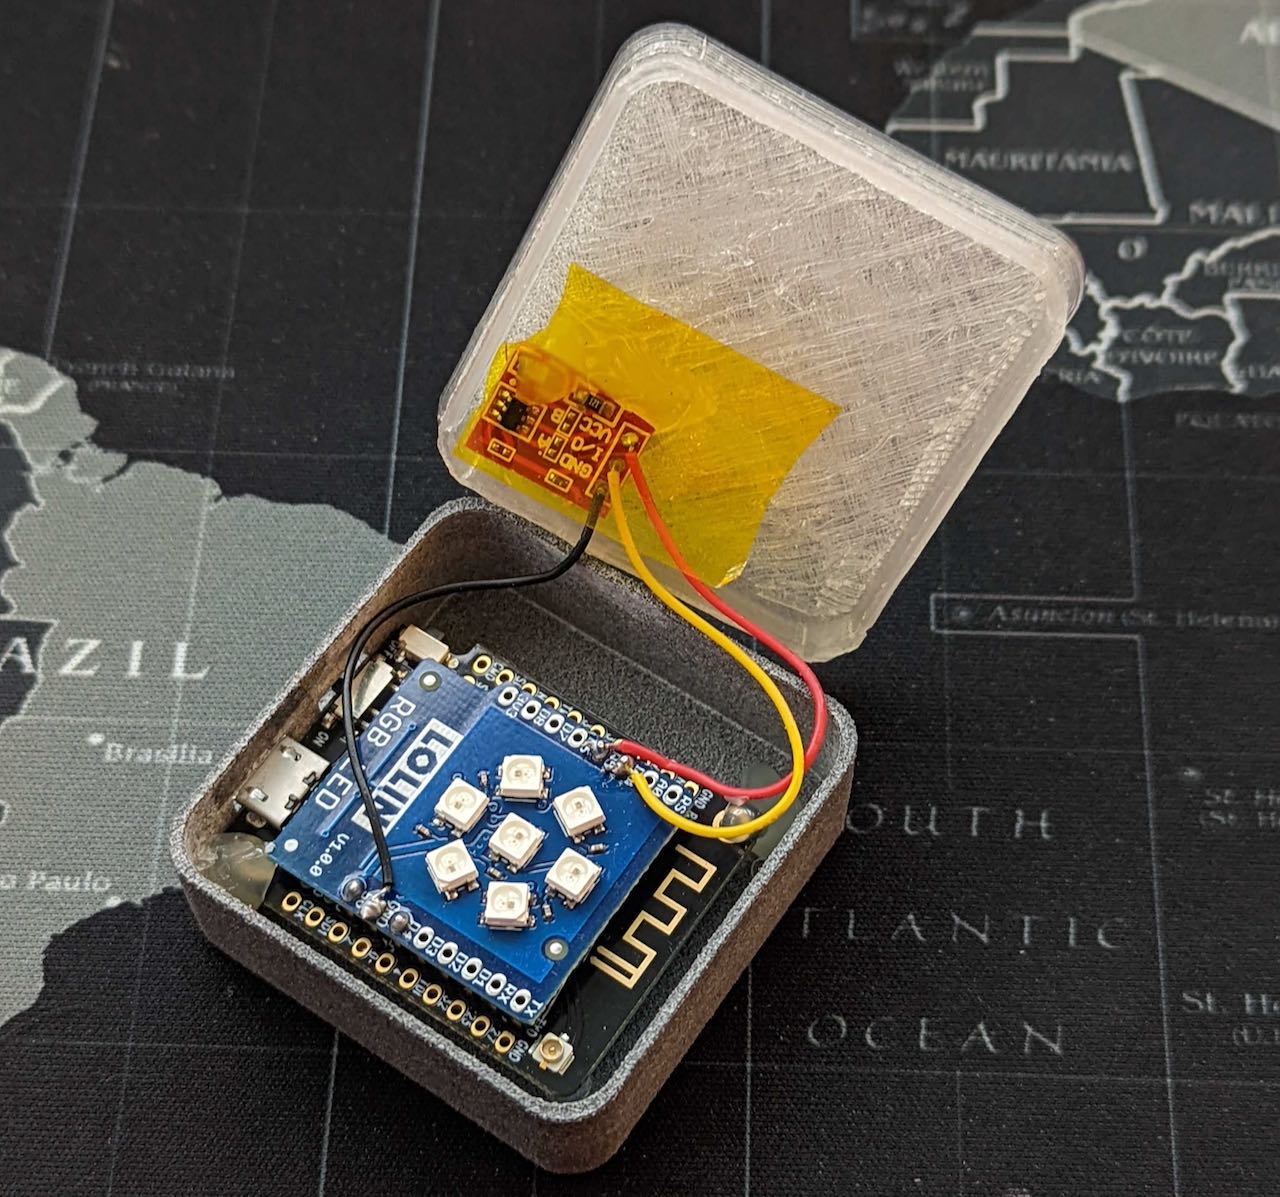
What arrived was a nifty ESP32, RGB LED shield and touch sensor all housed in a plastic case with a translucent 3d printed top rocking the Tines logo. Plugging in the USB port fired up an AP that could be connected to to configure the Wireless settings, and define a Tines webhook URL. There's also a capacitive button on top which acts as a button and triggers a webhook, as well as lights up the LEDs in the Tines purple. So we have a physical button that can initiate any Tines story we want. What could we use this for?
TP-Link Kasa Smart Plug
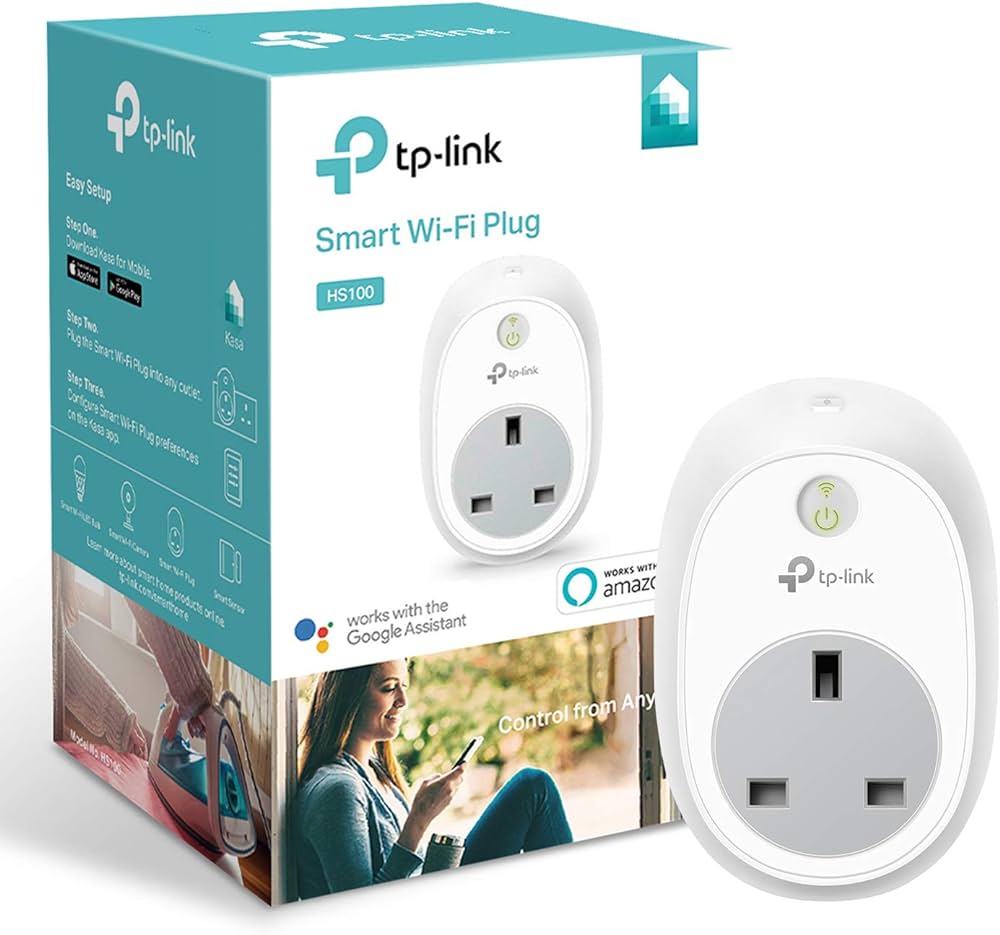
I have a few TP-Link Kasa Smart Plugs around the house for remotely controlling random things including my 3d printer: it's a safety feature should I ever need to cut the power if anything were to happen mid print. Maybe we could hook the button up to that? (Octoprint - a dedicated 3D printer controller - actually has a plugin for this already)

I initially completely overlooked the below referenced Cloud libraries, and instead found myself patching together various posts on the Cloud API.
A Python library to remotely control TP-Link smart home devices using their cloud service - no need to be on the same network as your devices
Using this, I was able to review the Python library and build out a story.
Step 1. Login to TP-Link Cloud
Logging in is pretty trivial, we send a POST request to https://wap.tplinkcloud.com with a JSON payload. Specifically, it must contain our TP-Link Username (we can store as a Tines Resource), our TP-Link Password (we can store as a Tines credential) and we have to provide a UUID (we can use the STORY_RUN_GUID() function).
If this is successful we'll receive a token we can use for subsequent requests.
Login to TP-Link Cloud Action
{"agents":[{"disabled":false,"name":"Login to TP-Link Cloud","options":"{\"url\":\"https://wap.tplinkcloud.com\",\"content_type\":\"json\",\"method\":\"post\",\"payload\":{\"method\":\"login\",\"params\":{\"appType\":\"Kasa_Android\",\"cloudUserName\":\"<<RESOURCE.tp_link_username>>\",\"cloudPassword\":\"<<CREDENTIAL.tp_link_password>>\",\"terminalUUID\":\"<<STORY_RUN_GUID()>>\"}}}","position":{"x":1305,"y":-135},"type":"httpRequest"}],"links":[],"diagramNotes":[]}
Step 2. Get Device Status
Next up we can get the device status. Firstly we need to know the DeviceId, so a POST request to https://wap.tplinkcloud.com?token=<TOKEN> with a JSON payload of {"method": "getDeviceList"} returns a list of devices including the type, friendly name and assorted IDs.
With the deviceId of the plug in question, we can then get the status. This again requires a POST request to https://wap.tplinkcloud.com?token=<TOKEN>, with a JSON payload containing the passthrough method, and params of deviceId and some requestData.
The equivalent curl:
curl --request POST "https://eu-wap.tplinkcloud.com/?token=YOUR_TOKEN_HERE HTTP/1.1" \
  --data '{"method":"passthrough", "params": {"deviceId": "YOUR_DEVICEID_HERE", "requestData": "{\"system\":{\"set_relay_state\":{\"state\":1}}}" }}' \
  --header "Content-Type: application/json"
The request data is escaped, and the API expects it in this format, so you'll need to do some jiggery-pokery to get the format right; we can achieve this with the JSON() formula.
The response will be a nested JSON payload inside the JSON response; you can use JSON_PARSE() to parse this out.
Enumerating devices and getting status
Get device list:
{"agents":[{"disabled":false,"name":"Get Device List","options":"{\"url\":\"https://wap.tplinkcloud.com?token=<<login_to_tp_link_cloud.body.result.token>>\",\"method\":\"post\",\"content_type\":\"json\",\"payload\":{\"method\":\"getDeviceList\"}}","position":{"x":1635,"y":-75},"type":"httpRequest"}],"links":[],"diagramNotes":[]}
Get status of device:
{"agents":[{"disabled":false,"name":"Get status of device","options":"{\"url\":\"https://eu-wap.tplinkcloud.com/?token=<<login_to_tp_link_cloud.body.result.token>>\",\"method\":\"post\",\"content_type\":\"json\",\"payload\":{\"method\":\"passthrough\",\"params\":{\"deviceId\":\"=extract_3d_printer_plug.deviceId[0].deviceId\",\"requestData\":\"=JSON('{\\\"system\\\":{\\\"get_sysinfo\\\":{\\\"emeter\\\":\\\"get_realtime\\\"}}}')\"}}}","position":{"x":1305,"y":-15},"type":"httpRequest"}],"links":[],"diagramNotes":[]}
Parse JSON response:
{"agents":[{"disabled":false,"name":"Parse JSON Response","options":"{\"mode\":\"message_only\",\"loop\":false,\"payload\":\"=JSON_PARSE(get_status_of_device.body.result.responseData)\"}","position":{"x":1305,"y":-15},"type":"eventTransformation"}],"links":[],"diagramNotes":[]}
3. Flipping the plug relay_state
Included in the response will be the relay_state which determines if the plug is currently on or not. We can simply then flip the state.
A simple trigger provides an if/else statement depending on the state.
Trigger on relay_state
{"agents":[{"disabled":false,"name":"Status On","options":"{\"rules\":[{\"type\":\"field==value\",\"value\":\"1\",\"path\":\"<<parse_json_response.system.get_sysinfo.relay_state>>\"}]}","position":{"x":1200,"y":60},"type":"trigger"},{"disabled":false,"name":"Status Off","options":"{\"rules\":[{\"type\":\"field==value\",\"value\":\"0\",\"path\":\"<<parse_json_response.system.get_sysinfo.relay_state>>\"}]}","position":{"x":1455,"y":60},"type":"trigger"}],"links":[],"diagramNotes":[]}
To change the state, we need to send another POST request to the TP-Link Cloud with another JSON requestData payload: {"system":{"set_relay_state":{"state":0}}}. 0=off, 1=on.
Flip status of plug
{"agents":[{"disabled":false,"name":"Flip status of plug","options":"{\"url\":\"https://eu-wap.tplinkcloud.com/?token=<<login_to_tp_link_cloud.body.result.token>>\",\"method\":\"post\",\"content_type\":\"json\",\"payload\":{\"method\":\"passthrough\",\"params\":{\"deviceId\":\"=extract_3d_printer_plug.deviceId[0].deviceId\",\"requestData\":\"<<JSON('{\\\"system\\\":{\\\"set_relay_state\\\":{\\\"state\\\":0}}}')>>\"}}}","position":{"x":1200,"y":135},"type":"httpRequest"}],"links":[],"diagramNotes":[]}
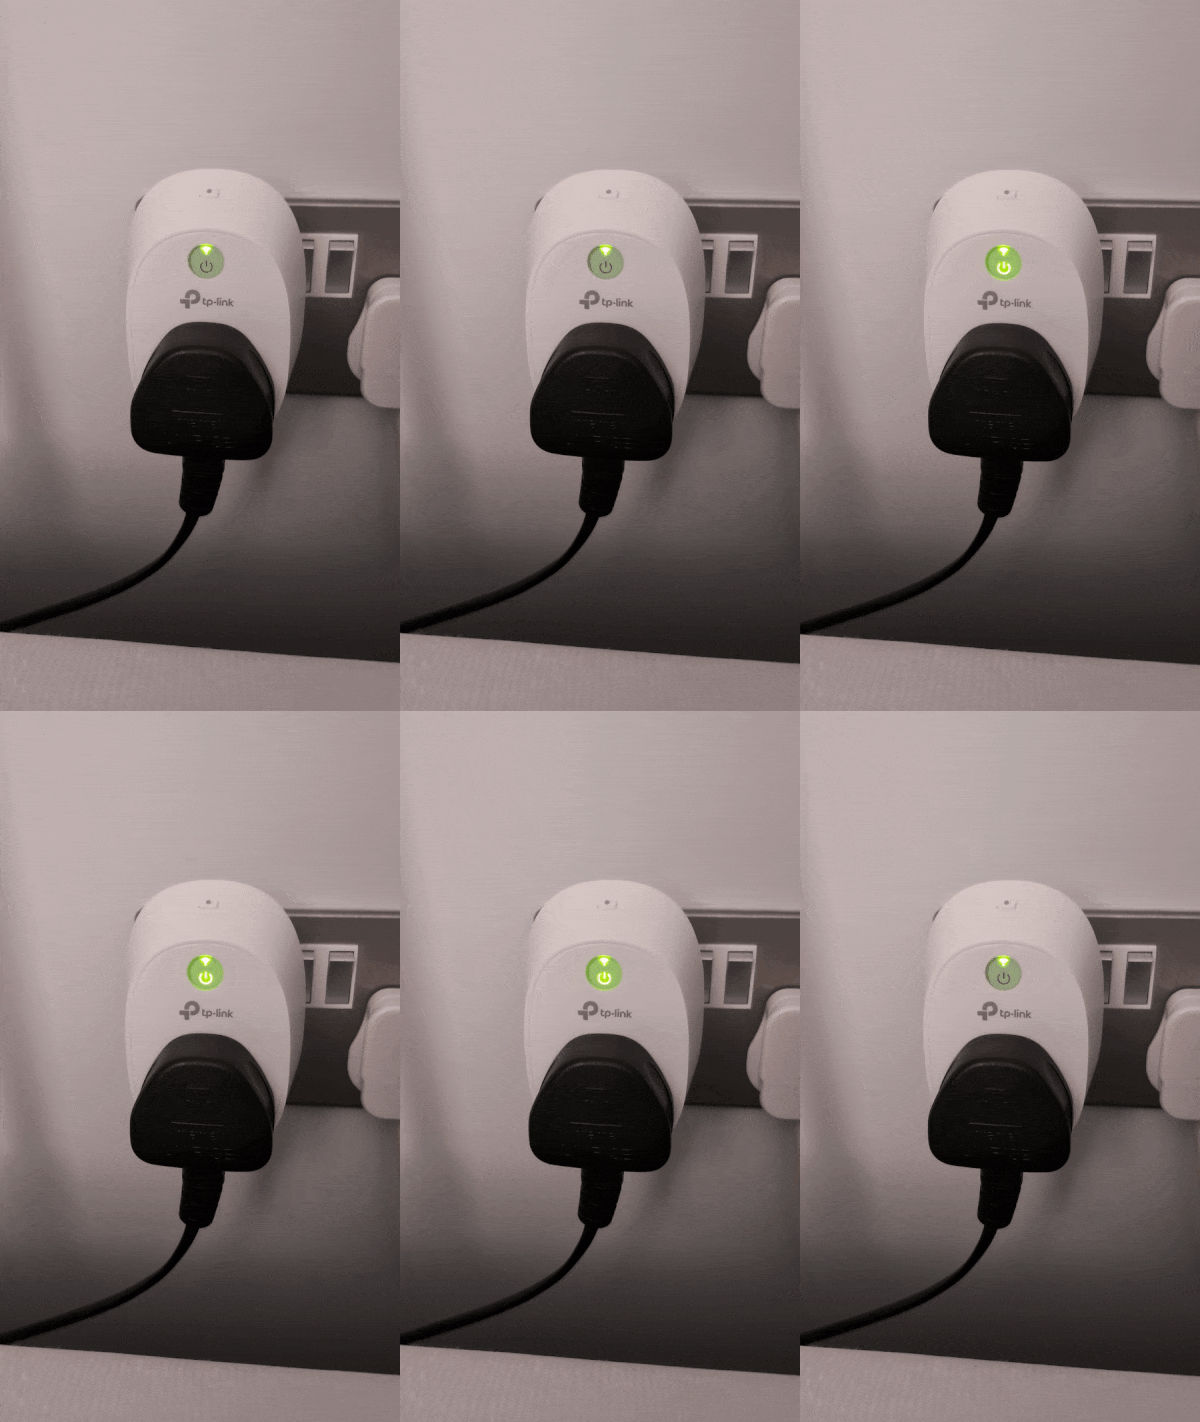
And with that, a tap of the Tines button will call our Tines story, hit the TP-Link Cloud API and switch on/off our Kasa Smart Plug.
